
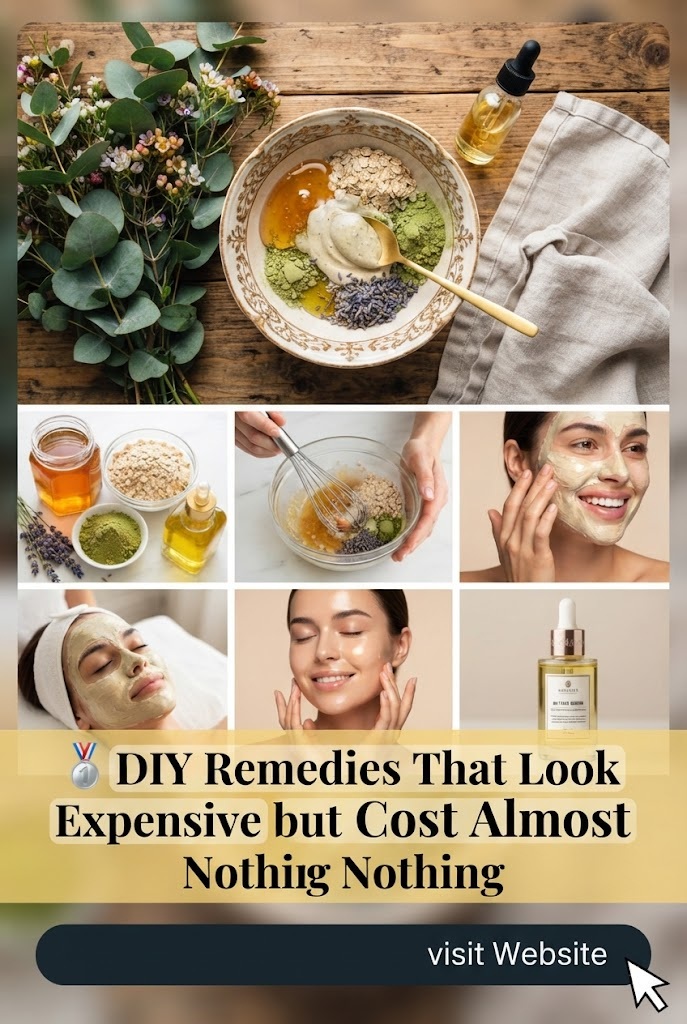
DIY Remedies That Feel Professional
Introduction
There’s something incredibly satisfying about creating a beauty or wellness product in your own kitchen that actually works as well as—or even better than—the expensive bottles lining store shelves. If you’ve ever looked at the price tag of a high-end serum and thought, “I could probably make this myself,” you’re not alone. More Americans than ever are turning to DIY remedies that feel professional, and for good reason: they’re affordable, customizable, and free from unnecessary fillers and preservatives.
One of the most popular and effective homemade skincare recipes gaining traction across the U.S. is DIY hyaluronic acid serum. This hydration powerhouse is a staple in professional dermatology clinics and luxury skincare lines, yet it can be made at home for a fraction of the cost. In this comprehensive guide, we’ll walk you through exactly how to create your own professional-grade serum, why each ingredient matters, and how to use it safely for maximum results.
Whether you’re a seasoned DIY enthusiast or a complete beginner looking for natural remedies for dry skin, this article will give you everything you need to craft a serum that feels like it came straight from a spa.
What Is Hyaluronic Acid Serum?
Hyaluronic acid (HA) is a naturally occurring substance found in your skin, connective tissues, and eyes. Its primary job is to retain water, keeping your tissues well-lubricated and moist. In fact, hyaluronic acid can hold up to 1,000 times its weight in water, making it one of the most effective hydrating agents available.
In the skincare world, hyaluronic acid serums have become a gold standard for hydration, plumping, and reducing the appearance of fine lines. The catch? Professional-grade serums can cost anywhere from $30 to $150 per ounce. That’s where DIY remedies that feel professional come in—by making your own serum at home, you can enjoy the same benefits for pennies on the dollar.
The best part? The ingredients are widely available in the U.S., and the process is surprisingly simple. You don’t need a chemistry degree or specialized equipment—just a few key components and a little patience.
Key Ingredients
To create a professional-quality hyaluronic acid serum at home, you’ll need the following ingredients. All are readily available online or at health food stores across the United States.
1. Hyaluronic Acid Powder (1 gram)
-
Purpose: This is the star ingredient. It acts as a humectant, drawing moisture from the air into your skin and locking it in.
-
Where to find: Available as a fine white powder from cosmetic ingredient suppliers, Amazon, or specialty health stores.
-
Note: Look for low molecular weight HA for deeper penetration, or a blend of low and high molecular weight for both surface hydration and deeper plumping.
2. Distilled Water (100 mL / about 3.4 ounces)
-
Purpose: The base of your serum. Distilled water is free from impurities and minerals that could affect the stability of your serum.
-
Why not tap water? Tap water contains bacteria, minerals, and chlorine that can degrade the active ingredients and introduce contaminants.
3. Vegetable Glycerin (¼ teaspoon, optional)
-
Purpose: An additional humectant that boosts hydration and helps the serum spread more smoothly across the skin.
-
Where to find: Drugstores, health food stores, or online.
4. Vitamin E Oil (2–3 drops, optional)
-
Purpose: A natural antioxidant that helps stabilize the serum and provides extra nourishment for the skin.
-
Note: Vitamin E also extends the shelf life of your serum by preventing oxidation.
5. Natural Preservative (Optional but Recommended)
-
Purpose: Because this serum is water-based and free of synthetic preservatives, it can spoil quickly. A broad-spectrum preservative like Leucidal or Optiphen helps extend shelf life.
-
If you skip it: Make smaller batches and use within 5–7 days.
How to Make Hyaluronic Acid Serum
Preparation time: 10 minutes active + 2–24 hours hydration time
Yield: Approximately 100 mL (3.4 ounces) of serum
Shelf life: 1–2 weeks without preservative; up to 3 months with preservative
Step-by-Step Instructions
Step 1: Sanitize everything.
Clean your workspace thoroughly. Wash your hands, and sterilize all containers and utensils with rubbing alcohol. Let them air-dry completely. This step is crucial for preventing bacterial contamination.
Step 2: Measure your distilled water.
Pour 100 mL of distilled water into a clean glass measuring cup or bowl. If you don’t have a measuring cup with milliliter markings, 100 mL is roughly 3.4 fluid ounces or a little less than half a cup.
Step 3: Add the hyaluronic acid powder.
Sprinkle 1 gram of hyaluronic acid powder (about ¼ teaspoon) over the surface of the water. Do not dump it all in at once, as this can cause clumping.
Step 4: Stir gently.
Using a clean spoon or whisk, stir slowly and evenly until the powder is fully dissolved. The mixture will start to thicken as the HA hydrates.
Step 5: Let it hydrate.
Cover the container and let it sit at room temperature for at least 2 hours, or overnight in the refrigerator for best results. During this time, the hyaluronic acid will absorb the water and form a clear, gel-like serum.
Step 6: Add optional ingredients.
Once fully hydrated, stir in the vegetable glycerin (if using) and vitamin E oil. If you’re adding a preservative, follow the manufacturer’s recommended dosage.
Step 7: Transfer to a storage bottle.
Pour your finished serum into a clean, dark glass dropper bottle. Amber or cobalt blue bottles help protect the serum from light degradation.
Step 8: Label and date.
Always label your DIY creations with the date you made them so you know when to replace them.
How to Use Hyaluronic Acid Serum
Using your homemade serum correctly makes all the difference in how effective it feels.
When to apply: Morning and evening, after cleansing and before moisturizer.
How much to use: 2–3 drops for the entire face and neck.
Application method:
-
Cleanse your face thoroughly.
-
While your skin is still slightly damp, dispense 2–3 drops of serum into your palm.
-
Gently pat the serum onto your face and neck using your fingertips. Avoid rubbing—patting helps with absorption.
-
Wait 30–60 seconds for the serum to absorb.
-
Follow with a moisturizer to seal in the hydration.
Frequency: For best results, use twice daily. Consistent use is key to maintaining hydrated, plump skin.
Important: Hyaluronic acid draws moisture from the environment into your skin. If you live in a dry climate, applying it to damp skin and following with a moisturizer is especially important to prevent it from pulling moisture out of your skin instead.
Potential Benefits
Deep Hydration Without the Grease
One of the most celebrated benefits of hyaluronic acid serum is its ability to deliver intense hydration without feeling heavy or greasy. Unlike thick creams that can clog pores, HA serums are lightweight and absorb quickly, making them suitable for all skin types, including oily and acne-prone skin.
Plumps and Smooths Fine Lines
By attracting and holding moisture in the skin, hyaluronic acid creates a temporary plumping effect that can reduce the appearance of fine lines and wrinkles. This is especially noticeable around the eyes and mouth, where dehydration lines tend to appear first.
Supports Skin Elasticity
Research suggests that hyaluronic acid may help improve skin elasticity, giving the skin a firmer, more youthful appearance. While results vary from person to person, many users report a noticeable difference in skin texture after consistent use.
Soothes and Calms Irritated Skin
Hyaluronic acid has soothing properties that can help calm redness and irritation. This makes it a great option for those with sensitive skin or conditions like rosacea, though individual results may vary.
Note: While these benefits are well-documented in skincare research, individual results depend on many factors, including skin type, age, and overall skincare routine. This serum is not a treatment for any skin disease or condition.
Why These Ingredients May Work
The science behind hyaluronic acid serum is rooted in its humectant properties. Humectants are substances that attract water from the surrounding environment and bind it to the skin.
Hyaluronic acid molecules can hold an enormous amount of water—up to 1,000 times their weight. When applied topically, they form a moisture-retaining barrier on the skin’s surface, preventing transepidermal water loss (TEWL). This keeps the stratum corneum (the outermost layer of skin) hydrated, which in turn makes the skin appear smoother, plumper, and more radiant.
Glycerin, when added, works synergistically with HA to enhance hydration. Vitamin E acts as an antioxidant, protecting the skin from free radical damage and helping to stabilize the serum. Together, these ingredients create a simple but effective formula that mimics the active components of many high-end commercial serums.
Who May Benefit From This Remedy
This homemade hyaluronic acid serum may be particularly useful for:
-
Adults with dry or dehydrated skin looking for an affordable, effective moisturizing solution.
-
Individuals in dry climates who need extra hydration support.
-
Anyone looking to reduce the appearance of fine lines caused by dehydration.
-
People with sensitive skin who want a gentle, fragrance-free option.
-
Budget-conscious consumers who want professional-quality skincare without the markup.
It’s important to remember that skincare is highly individual. What works beautifully for one person may not work for another. Always patch-test new products and pay attention to how your skin responds.
Possible Side Effects and Safety Precautions
While hyaluronic acid is generally considered safe for topical use, there are a few precautions to keep in mind:
-
Allergic reactions: Though rare, some individuals may experience redness, itching, or irritation. Always perform a patch test on a small area of skin before applying to your face.
-
Clogged pores: Using too much serum or not allowing it to absorb properly before applying moisturizer can lead to buildup. Stick to 2–3 drops.
-
Dryness in low-humidity environments: HA draws moisture from the air. In very dry climates, it can potentially pull moisture from deeper layers of your skin. Always apply to damp skin and follow with a moisturizer.
When to consult a healthcare professional: If you experience persistent redness, swelling, or severe irritation, discontinue use and consult a dermatologist. If you have a known skin condition or are under the care of a dermatologist, check with them before introducing new products.
Who Should Avoid It
While hyaluronic acid serum is safe for most people, certain individuals should exercise caution:
-
Those with known allergies to any of the ingredients—particularly if you’re sensitive to glycerin or vitamin E.
-
Pregnant or breastfeeding women should consult their healthcare provider before using any new skincare product, though HA is generally considered safe.
-
Individuals with active skin infections, open wounds, or severe acne should avoid applying serum to broken skin.
-
Anyone with a history of severe allergic reactions to skincare products should patch-test and proceed with caution.
How Long Does It Take to See Results?
With consistent use—typically twice daily for 2–4 weeks—many users notice improved skin hydration, a more plump appearance, and reduced visibility of fine lines caused by dehydration.
However, results vary widely based on individual skin type, age, and environmental factors. Some people notice a difference after just a few applications, while others may take longer. This serum is not a quick fix and should be viewed as part of a long-term skincare routine.
Realistic expectations: Hyaluronic acid provides temporary hydration and plumping effects. It does not permanently change skin structure or erase deep wrinkles. For best results, combine with a healthy diet, adequate water intake, and sun protection.
Tips for Best Results
-
Apply to damp skin. This helps the HA draw moisture into the outer layers of your skin more effectively.
-
Seal with a moisturizer. Follow up with a good moisturizer to lock in the hydration and prevent water loss.
-
Store properly. Keep your serum in a cool, dark place to preserve its effectiveness. Refrigeration can extend shelf life.
-
Make small batches. Because this serum lacks strong synthetic preservatives, it’s best to make small amounts and use them fresh.
-
Pair with other gentle products. Avoid using harsh exfoliants or retinoids at the same time as your serum if you have sensitive skin.
-
Stay consistent. Skincare is a marathon, not a sprint. Regular use yields the best results.
Common Mistakes to Avoid
Mistake #1: Using tap water.
Tap water contains minerals and bacteria that can degrade your serum and shorten its shelf life. Always use distilled water.
Mistake #2: Adding too much hyaluronic acid powder.
More is not better. A 1% solution (1 gram per 100 mL) is the standard professional concentration. Adding more can make the serum sticky and less effective.
Mistake #3: Not letting it hydrate fully.
Hyaluronic acid powder needs time to absorb water. Rushing this step results in a gritty, uneven serum. Be patient—let it sit for at least 2 hours.
Mistake #4: Skipping the preservative and making large batches.
Without a preservative, water-based serums are breeding grounds for bacteria. Make small batches (1–2 weeks’ worth) or use a preservative.
Mistake #5: Applying to dry skin.
Using HA on completely dry skin can actually draw moisture out of your skin. Always apply to damp skin.
Mistake #6: Not patch-testing.
Even natural ingredients can cause reactions. Always test a small area first.
Frequently Asked Questions (FAQs)
1. Can I use this DIY hyaluronic acid serum every day?
Yes. Most people can safely use it twice daily—morning and evening—as part of their regular skincare routine. Consistency is key for best results.
2. How long does homemade hyaluronic acid serum last?
Without a preservative, it typically lasts 5–7 days in the refrigerator. With a broad-spectrum preservative, it can last up to 3 months. Always check for changes in color, smell, or texture before use.
3. Can I add essential oils to my DIY serum?
You can add 2–3 drops of a skin-safe essential oil like lavender or frankincense for fragrance and added benefits. However, essential oils can cause irritation in sensitive skin, so proceed with caution and always patch-test.
4. Is this serum suitable for acne-prone skin?
Yes, hyaluronic acid is non-comedogenic (won’t clog pores) and lightweight, making it suitable for acne-prone skin. However, if you’re using active acne treatments, consult a dermatologist before adding new products.
5. Can I use this serum on my hair or scalp?
Absolutely. Hyaluronic acid can help hydrate dry scalps and add moisture to hair. Apply a few drops to your scalp or mix into your conditioner.
6. Why is my serum sticky or gritty?
This usually happens when the hyaluronic acid powder hasn’t fully hydrated or when too much powder was used. Give it more time to hydrate, or adjust your ratio to 1 gram per 100 mL of water.
7. Can I mix this serum with other skincare products?
Yes. It layers well under moisturizers, sunscreens, and makeup. Apply it after cleansing and before heavier creams.
8. Is hyaluronic acid safe during pregnancy?
Hyaluronic acid is generally considered safe for topical use during pregnancy. However, always consult your healthcare provider before introducing any new skincare products.
Final Thoughts
Creating your own DIY remedies that feel professional isn’t just about saving money—it’s about taking control of what you put on your skin. This homemade hyaluronic acid serum is a perfect example of how simple, natural ingredients can deliver results that rival expensive commercial products.
With just a few readily available ingredients and a little patience, you can craft a serum that deeply hydrates, plumps, and soothes your skin—all without the hefty price tag or long list of unpronounceable chemicals. Whether you’re new to DIY skincare or a seasoned formulator, this recipe is a fantastic place to start.
Remember, skincare is personal. What works for one person may not work for another. Listen to your skin, patch-test new products, and consult a healthcare professional when in doubt. With consistency and care, your skin will thank you.
So go ahead—clear a little space on your counter, gather your ingredients, and experience the satisfaction of creating professional-quality skincare right in your own kitchen.